 Save
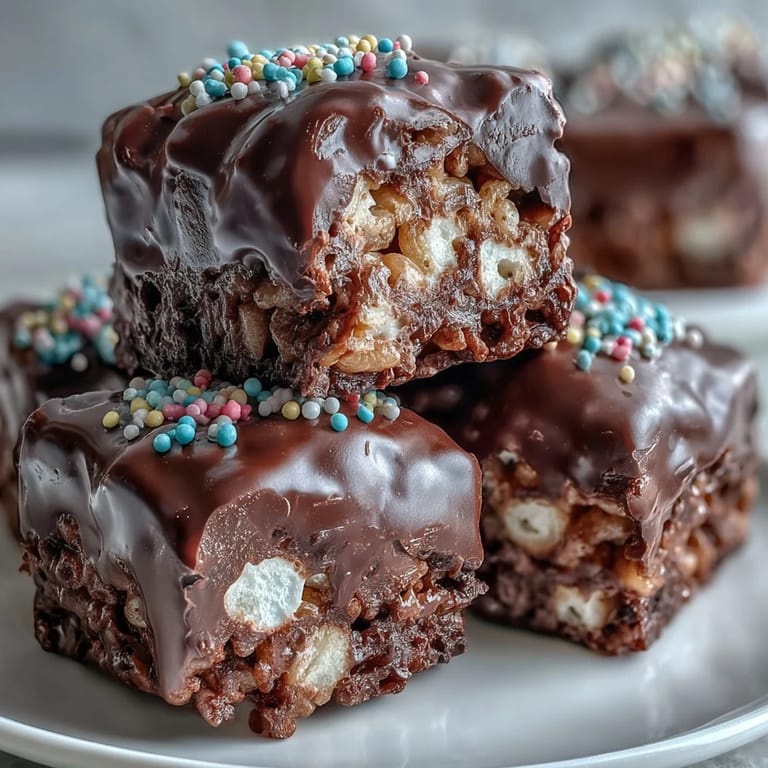
Save The smell of melted marshmallows still takes me back to rainy Sunday afternoons when my mom would pull out the biggest mixing bowl we owned. I remember standing on a step stool, barely able to reach the counter, watching the white puffs transform into something magical and stretchy. Those first attempts were always messy, with sticky fingers and cereal scattered everywhere, but that was half the fun. Now I make these treats whenever I need a dose of that simple childhood comfort, but with a chocolate upgrade that makes them feel grown up and indulgent all at once.
Last summer I made three batches for my nieces birthday party, and I wish I had taken a picture of their faces when they saw the chocolate topped squares. The birthday girl declared them better than cake, which is basically the highest compliment a seven year old can give. Since then, they have become my go to whenever I need to bring something that guarantees smiles and empty plates.
Ingredients
- Unsalted butter: Using unsalted gives you control over the final flavor, especially since the chocolate chips add their own sweetness
- Mini marshmallows: The smaller size melts faster and more evenly than the big ones, creating that perfectly smooth base
- Rice Krispies cereal: Fresh boxes give the best crunch, so check the expiration date if yours has been sitting in the pantry for months
- Fine sea salt: Just a pinch cuts through the sugar and makes the chocolate taste more intense
- Semisweet chocolate chips: Dark chocolate creates a more sophisticated contrast, while semisweet keeps it nostalgic and sweet
- Vegetable oil: This little trick keeps the chocolate glossy and prevents that sad gray bloom that appears when chocolate seizes
- Rainbow sprinkles: Sprinkle them immediately after pouring the chocolate, or they will not stick properly
Tired of Takeout? 🥡
Get 10 meals you can make faster than delivery arrives. Seriously.
One email. No spam. Unsubscribe anytime.
Instructions
- Prepare your pan:
- Butter an 8x8 or 9x9 inch baking pan thoroughly, getting into all the corners
- Melt the butter:
- Over low heat in a large saucepan, stir constantly until it is fully liquid but not brown or bubbly
- Add the marshmallows:
- Pour them in and keep stirring until you have a smooth, glossy, white pool with no lumps remaining
- Season and remove:
- Stir in the sea salt if you are using it, then take the pan completely off the heat
- Combine with cereal:
- Pour in the Rice Krispies and fold gently until every piece is coated in marshmallow
- Press into the pan:
- Transfer the mixture to your prepared pan and press firmly with buttered hands or a spatula
- Let it rest:
- Allow the base to cool for about 10 minutes while you prepare the chocolate
- Melt the chocolate:
- Combine chocolate chips and oil in a microwave safe bowl, heating in 30 second intervals and stirring between each
- Top the treats:
- Pour the glossy chocolate over the cereal base and spread it evenly with an offset spatula
- Add sprinkles:
- Sprinkle them over the wet chocolate immediately so they adhere properly
- Set completely:
- Let the bars rest at room temperature for an hour or speed things up with 20 to 30 minutes in the fridge
- Cut and serve:
- Lift the block from the pan, transfer to a cutting board, and slice into 12 to 16 bars with a sharp knife
 Save
Save My roommate in college used to make these for exam week, claiming the sugar helped her brain function better. Whether that was true or not, I cannot deny that something about the combination of textures and flavors makes everything feel manageable again. Now whenever I see a pan of these cooling on the counter, I remember those late night study sessions and how something so simple could turn a stressful evening into something almost sweet.
Make Them Your Own
Swap the semisweet chocolate for white chocolate and use pastel sprinkles for baby showers or spring gatherings. Dark chocolate with crushed candy cane pieces transforms this into a holiday favorite that people actually look forward to receiving.
Storage Solutions
These treats stay fresh at room temperature for three days in an airtight container, though they rarely last that long in my house. If you need to make them ahead, wrap the uncut pan tightly and store in the fridge for up to a week before slicing and serving.
Presentation Ideas
Cut them into triangles instead of squares for a different look that feels fancy but takes no extra effort. Layer them in clear treat bags tied with twine for party favors that actually get eaten instead of tossed in a drawer on the way home.
- Use a warm knife to cut clean edges without cracking the chocolate
- Let the knife sit under hot water for a minute, then dry it before each cut
- Sprinkle a pinch of flaky sea salt on the chocolate before it sets for a gourmet finish
 Save
Save There is something almost meditative about stirring that marshmallow mixture and watching it transform. I hope these treats find their way into your kitchen and bring even a fraction of the simple joy they have brought to mine over the years.
Recipe FAQ
- → How do I prevent the bars from sticking to the pan?
Lightly grease your baking pan with butter or use parchment paper with an overhang to easily lift the block once set. A buttered spatula or hands also helps when pressing the mixture into the pan.
- → Can I use a different type of chocolate for the topping?
Absolutely! While semisweet or dark chocolate chips are common, you can experiment with milk chocolate, white chocolate, or even a blend. Adjust the oil quantity if needed for desired gloss and pourability.
- → How should I store these bars for best freshness?
Store the finished bars in an airtight container at room temperature for up to 3 days. For longer storage, they can be refrigerated for up to a week, but let them come closer to room temperature before serving for optimal texture.
- → What are some fun variations to try?
Consider adding ½ teaspoon vanilla extract to the melted marshmallows for extra flavor. You can also use white chocolate and pastel sprinkles for different occasions, or mix in some crushed pretzels for a salty-sweet crunch.
- → Why aren't my marshmallows melting smoothly?
Ensure you are melting the butter and marshmallows over very low heat. Stir constantly to prevent sticking and browning. Overheating can cause the marshmallows to become tough or crystallized, affecting the final texture.
- → Can these be made ahead for a party?
Yes, these are excellent for making ahead! They store well at room temperature for a few days, making them a convenient option for events. Just ensure they are kept in an airtight container.